
Did Losing a Rudder Damage our Hulls?
We’d just crossed the Atlantic on one rudder. We knew what had happened — the port stock had failed mid-ocean, the blade had torn away, and we’d sailed Paikea nearly 800 nautical miles to the Canaries and then on to the Caribbean to sort it out. What we didn’t yet know was what that failure had done to the boat.
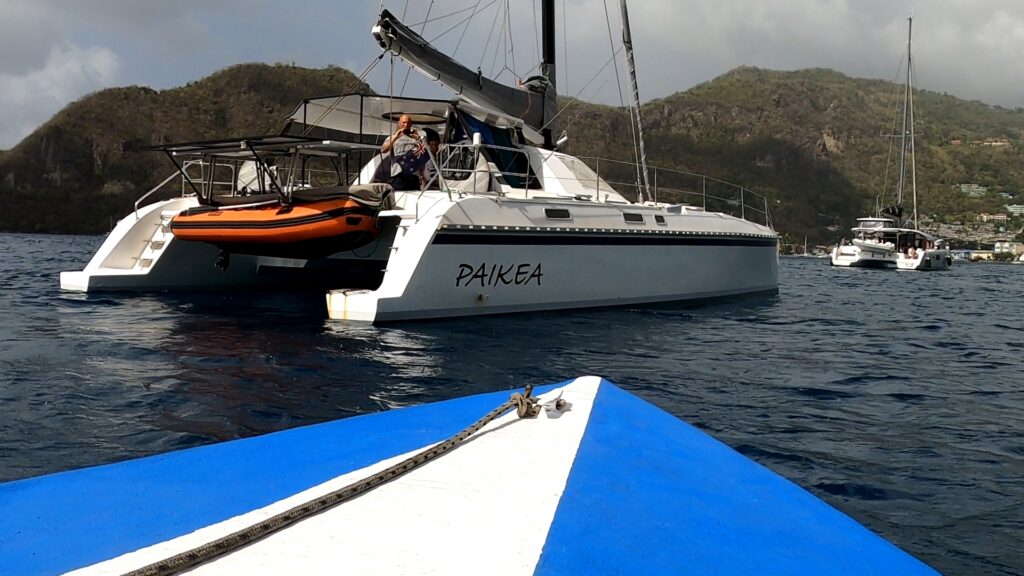
We’d had a brief look underwater in the Canaries, but conditions hadn’t allowed for a proper inspection. St Lucia was our first real opportunity. We’d allowed ourselves one day ashore — a bus tour, some volcanic hot pools, the kids getting a blast down the coast in our guide Malcolm’s boat — and then it was time to get in the water and find out what we were actually dealing with.
What the Underwater Inspection Revealed
Shayne went under the hull with a camera to document everything. What we found told a clear story about exactly how the failure had unfolded.
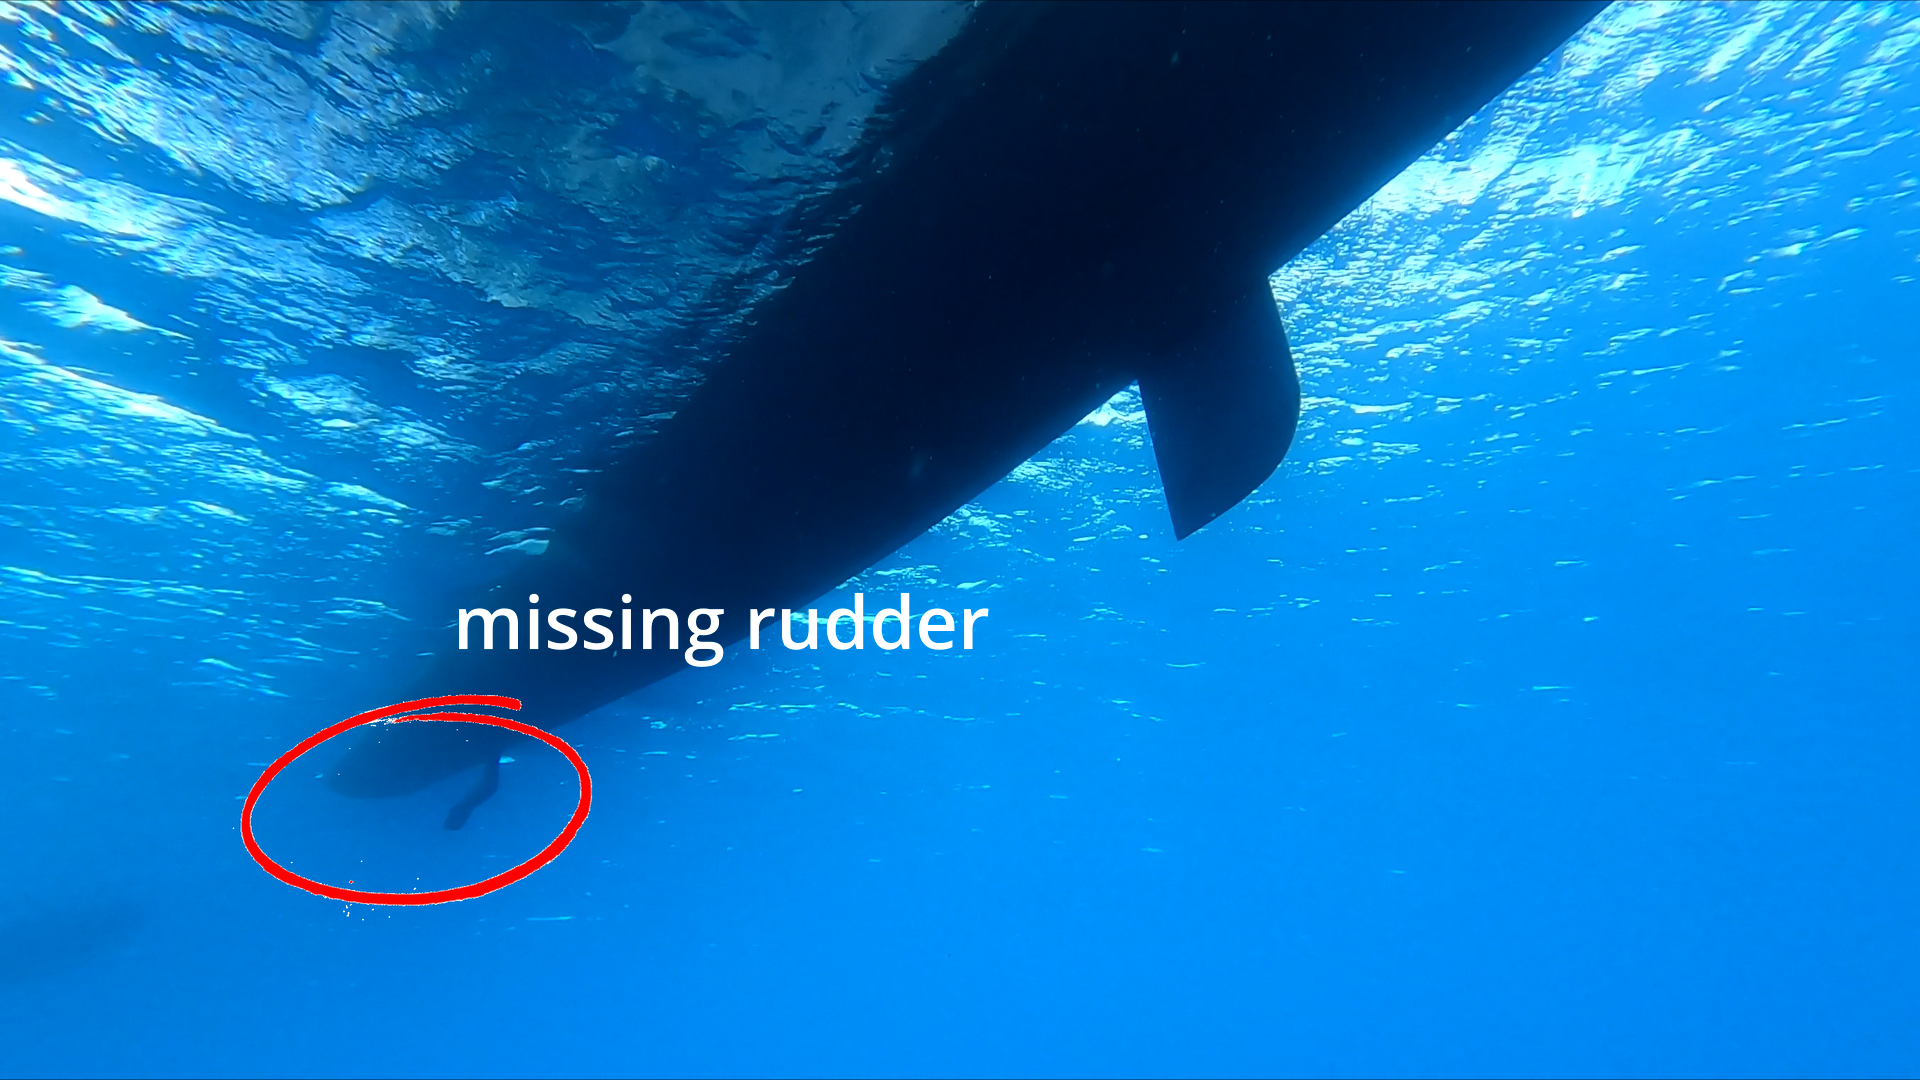
The first thing visible was what remained of the port rudder stock — a stainless steel tube with notably thin walls. That wall thickness matters, and we’ll come back to it.
There were two distinct failure points in the stock. The first showed as a dark rust stain — a sign of where the metal had been compromised. The second failure point was close by. Between them, you could see where the rudder had been hanging on before it finally let go — the metal on that side was rough and ragged, the hallmark of a progressive tear rather than a clean break.
The last piece of evidence was a long scratch in the antifoul along the hull. That scratch marks the exact path the rudder blade took as it broke free and scraped away from the boat. It told us the direction of failure and confirmed that the blade had separated while under load.
The hull itself was undamaged. That was the critical finding. The failure had been confined to the stock. Paikea’s hulls had come through intact.
Two Failure Points — What That Tells Us
Having two failure points rather than one is significant. A single clean fracture suggests sudden overload — something hit, or a one-off stress event. Two points of failure suggest something more gradual: fatigue, corrosion, or a stock that had been compromised over time and was progressively giving way under normal sailing loads.
It’s also worth noting that the new blades we’d fitted in Valencia — the ones that went on before the Atlantic crossing — had been on the boat for around 3,000 nautical miles by this point. The failure points in the stock may or may not have been present when we fitted those blades. A visual inspection of the stock at that point hadn’t revealed anything of concern, but the inside of a hollow stainless tube isn’t easy to assess without destructive inspection. That’s a lesson in itself.
The New Blades Were Putting More Load on the Stocks
Once we’d assessed the damage, we needed to understand why — and part of the answer came from looking at what had changed between the original rudders and the blades we’d built in Valencia.
The original blades had a significant gap between the top of the rudder and the hull. The new blades were designed to close that gap — to seal against the hull and create a hydrodynamic end plate effect. That’s good design. It stops high pressure from spilling over to the low pressure side at the root of the blade, keeps the full span of the rudder working, and moves the centre of effort in the right direction.
But it also places more load on the stocks. A rudder that seals against the hull is generating more side force per square metre than one with an open gap at the top. That’s the whole point — but it’s load the stocks have to handle.
The new blades were also more efficient in profile. Smaller in area than the originals, but producing more side force for the same or less drag. Again — more load transferred into the stock.
We’d put more capable blades onto stocks that, as it turned out, were already compromised. The combination was enough.
What We Decided
The stocks were not going back on the boat. Both of them.
The port stock had failed catastrophically. The starboard stock had survived, but given what we now understood about the loading the new blade design placed on the hardware, and given that we’d already sailed 3,000 miles on it with mismatched blades and asymmetric loads, we weren’t prepared to trust it.
New stocks. Round carbon tube, built to our own specifications. And new blades to match — designed from scratch using everything we’d learned from the data we’d been collecting across all the different rudder configurations Paikea had carried.
That build is one of our most detailed technical projects to date, and we’ve documented the whole thing. You can follow the full composite rudder build series — how we designed the new foil profile, sourced materials in the Caribbean, and built a pair of rudder blades at anchor in Martinique — in the posts and videos linked below.
The Full Rudder Story
This post is part of a series documenting everything that happened with Paikea’s rudders — from the original failure to the final design we’re running today, including the winglets we’ve since designed and the ongoing refinements.
The full story, with all the technical detail and links to every post and video in the series, is on our free cornerstone page: Paikea’s Rudders: The Full Story
If you want to go deeper — foil theory, composite engineering, structural design, and everything else we work on — that’s what the Youngbarnacles members hub is for.
In This Series
This is part of a longer story — an 11-part account of crossing from the Canary Islands to the Caribbean, including a rudder lost 800 miles from land and the recovery that followed.
Read it in order:
- The Canary Islands: Preparation for Atlantic Passage
- Discovering Chainplate Movement
- Atlantic Crossing on a Modified Catana42: Canary Islands to the Caribbean
- Mid-Atlantic Repairs and Growing Crew
- Downwind Spinnaker Trim
- Daggerboard Control, Watermaker Maintenance & Speed Secrets
- Losing a Rudder 800nm from Land
- How We Sailed 800nm With One Rudder
- We Lost a Rudder in the Middle of the Atlantic
- Navigation Systems Onboard Paikea
- Did Losing a Rudder Damage Our Hulls?