Transom Extension, Saildrive Housing, and an America’s Cup Rudder
Shayne had been away since October working professional rigging jobs. He came back two days before Christmas and went straight into cutting away the transom of our boat. That’s the pace of this refit.
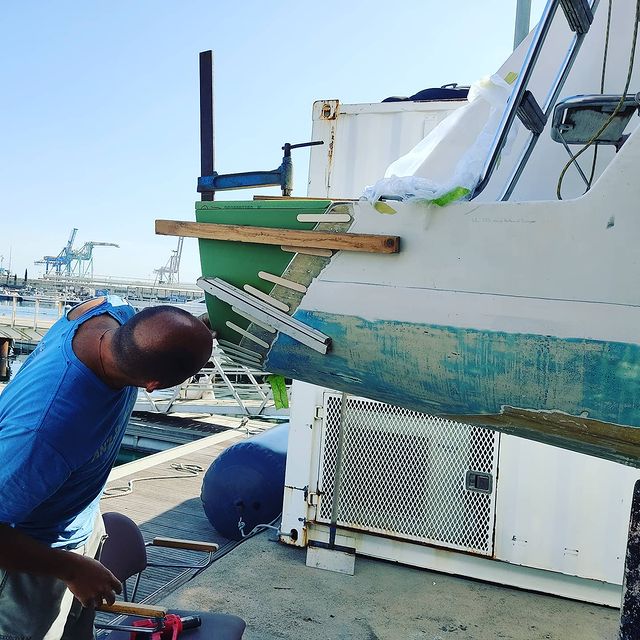
Cutting Away the Transom
The original Catana transoms had a step that was too small to be useful. Awkward to board from, uncomfortable at anchor, nothing to stand on properly when you’re trying to get in and out of the water. The geometry was wrong — the step was recessed in a way that left you with nowhere to put your feet.
The fix was to cut the existing transom back and rebuild it square, extending the step out to create a proper platform at the bottom. Not extending the waterline — the hull length stays the same — just straightening up what was there so it actually works.
Shayne cut the old transom away with a 4 inch grinder with a 1mm Ultradine cutoff blade and cleaned the edges back with a chisel. The interior was sanded with 60 grit then 80 grit to prepare the surface for the new join and for some additional repairs needed in the area including new shelves for the steering arms in the engine room.
The rebuild: Airex C70 80kg/m³ foam heated to conform to the shape, glued in place with polyester resin mixed with 20% Cabosil and 80% Q-cell, clamped and held with hot-glued tongue depressors while it cured. The inside skins — E-glass 400g/m² double bias and 300g/m² cloth — were laminated flat on a table before fitting, which is the right way to do it when you’re working with flat panels. Valencia in December is around five degrees — not ideal for composite work — so they built a temporary oven from plastic sheeting and a bathroom heater to get the cure time down.
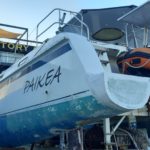
Once the inside skins were done the transom and step pieces were glued into position with the same filler mix, bogged and faired to finish. Peel ply throughout.
A platform that didn’t exist before now exists and gets used every single day — swimming, boarding, docking. One of those upgrades that sounds modest and makes an immediate difference to life on the boat.
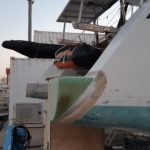
Saildrive Housing
While the transom work was underway Shayne also fabricated a new fibreglass saildrive housing. He took a splash off the back of the hull, cut it to accept the saildrive with a rubber boot inside, and made a flanged ring to bolt it firmly in place from inside. Completely serviceable, sits flush with the hull, properly sealed. One of those jobs that needed doing and got folded into an already busy few weeks.
Stripping the Hull Back
With the structure done the whole hull got stripped back to epoxy primer. Four days of sanding. Anna in a suit Shayne found for her, the boys helping where they could — Harry pulling plastic covers off the forward beam and finding water and slime that confirmed it had been wet for a while, Ayden working on panels. The daggerboard cases got edge capping that hadn’t been done from the factory — glass laid over the edge of the case where it meets the hull, something that should have been there from day one. Relentless work but the hull needed to be clean before paint.
The Rudders
When the original rudders came off the port blade — the original Catana blade — was waterlogged. Water running out of it when they pulled it. The core was bog rather than foam, it had cracked over the years and water had worked its way in. The starboard blade was a non-original replacement with a solid SS stock, which turned out to be the better of the two despite not being original equipment.
Both blades were being replaced. Rather than designing from scratch Shayne sourced a rudder from the Spanish Ibedrola team’s 2007 America’s Cup campaign — a bright green blade that had been sitting in storage. The R&D that went into that foil shape is beyond any cruising budget. Shayne pulled a splash mould directly from it, then used that mould to make Paikea’s new blades — inheriting world class hydrodynamics for the cost of materials and labour.
Two shells from the mould, built up around the reused stocks. The new blades would be properly sealed. No more waterlogged cores.