Paikea’s Composite Hatches: The Full Story
Thirty-two years of solid, offshore-spec aluminium hatches finally reached the end of what they could be repaired into. Rather than replace them with more of the same, we designed and built our own — flush, lighter, and properly sealed — entirely in composite, from scratch.
Why the Original Hatches Had to Go
The original hatches weren’t cheap or badly made — cast aluminium rims nearly 35mm thick, genuinely offshore-spec hardware. But they sat proud of the deck rather than flush, visually breaking up the lines of a 42-foot boat, added real weight working against every other weight-saving decision in this refit, and had developed a specific, mechanical leak: wave impact on the bow would flex the hatch dogs just enough to crack the seal open momentarily, letting water through despite brand new EDPM seals. Commercial replacement hatches were seriously considered and ultimately rejected — every option solved some of the problems while introducing new ones, from bendy low-profile lids to sharp acrylic corners known to crack underfoot.
Engineering Composite Flush Hatches: Why We Started From Scratch→
Building the Frame and Lid
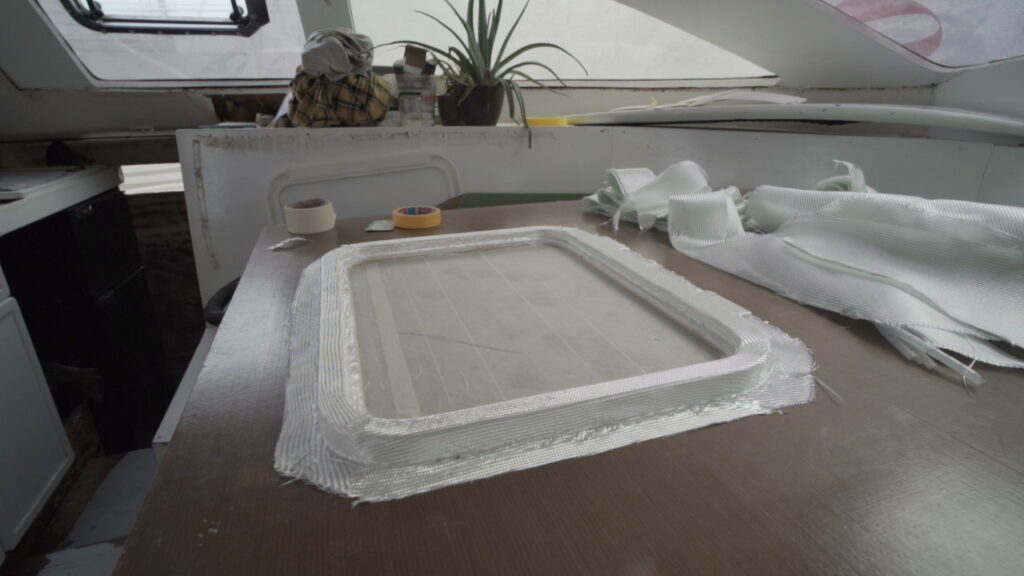
Every hatch on the boat starts with a 3D-printed mould — two separate moulds, one for the frame and gutter, one for the lid itself, both printed in sections small enough to fit an onboard printer and jigsaw-puzzle-jointed back together. Gel coat, wax technique, and trim lines printed directly into the mould all played a part in getting consistent, repeatable parts across all eight hatches this project required.
Building Composite Hatches: From 3D-Printed Mould to Finished Part→
Fitting Hatches to the Boat, and Converting Portlights
Cutting into a deck that already had a working (if flawed) drainage system meant preserving what worked while replacing what didn’t. Purpose-built 3D-printed jigs guaranteed hinge holes landed in exactly the right position every time — precision that wouldn’t have been worth the setup cost on a smaller job, but paid for itself across eight repeated installations. The same composite hatch technique also converted the boat’s leaky, inward-opening portlights into proper outward-opening hatches with integrated drainage.
Fitting Composite Hatches: Installation, Alignment, and Converting Portlights to Hatches→
Hull Weight Reduction & Flush Hatch Installation: Paikea Refit Update→
Lenses, Drains, and the First Light Through a Hatch
After a long, frustrating search for a European acrylic supplier, the final lenses arrived — bonded in with MS sealant rather than urethane, precisely positioned 3D-printed drains, and a non-skid exterior finish. This is where months of purely structural, invisible work finally became something visible: light coming through a hatch on this boat for the first time.
Acrylic Hatch Lenses: Finally, Hatches You Can See Through→
The Result
Each finished hatch and frame comes in at roughly half the weight of the aluminium original — a meaningful contribution to the broader ton-of-weight target driving this whole refit — while solving the leak, flex, and serviceability problems the old hatches never could. Eight hatches, four stages, one continuous build from first design sketch to the first hatch you can actually see through.